Nov 29, 2012

Choose your side!!!!!!

Its official!!!! Every one choose sides and get your kits ready!!! Mecha Lounge is sponsoring the "CHAOS" Air vs. Land group build.

Any kits go tanks, aircraft, gundam, ships!!!!

Just bring your skills, and your want to win it for your side!

I am going Air are you for or against me?!?!

Good luck and build on. T.G.

Nov 16, 2012

Intro: MG Rezel Command Type Ver. Tem!!!

This was a straight build for the most part. I didn't do any modifications beyond the paint job. It's a build for my sister, so I had constraints. The most obvious one is she wanted green as the primary color. I spent a lot of time trying to find a good match for a green scheme. What I came up with was a 3 shades of green paint scheme. I added some white to break everything up. I did the same on the frame coloring. Using 2 metal shades, and a metallic blue; finishing everything up with some decals and a layer of future for a gloss finish. But enough chatter, Introducing the MG Rezel Command Type!!

I am using this color scheme as a test type for an upcoming build...but thats another story.

I really the green shading on the white though. Definitely my favorite effect that I have learned to do with my airbrush.


I used clear blue on all the lens parts to break up the green even more.


A simple, but quality build if I do say so myself.

As always, thank you for stopping by. T. G.

Nov 14, 2012

MG Rezel Command Type

In the interim of cleaning and sanding I have been working on a kit for my Sister. Her favorite color being green...one of the most painful colors to come up with a decent looking scheme for. What colors can you mix with green...red..no too christmas, orange...to much like a plant, and the list goes on so my idea...Green will mix well with green.

But to start off Below is the huge beam rifle. I did a dark steel then over sprayed it with a metallic blue.


More masking even using just green.


The winter work area.

And here are the pictures as I have completed the tiny but of panel lining on the kit. I did a lot of fades on this kit to add to the details and depth instead of doing a lot of heavy panel lining. My goal was to keep this kit really bright.


I will start decals soon, while I slowly work on my Drekky. I am having to leave the primer to set for over 24 hours to ensure good adhesion.

As always thanks for stopping by. T.G.

Nov 9, 2012

Thehelmosengine's Drehksturm WIP 1.

Welcome to a MUCH!!! anticipated build!

This has been over a year of waiting to get my hands on this thing. I am building #2 from Thehelmosengine (http://hangar03.blogspot.com)

A little about this model so far, it is a resin style kit. I have no other way to explain it. The material cleans up almost like plastic. After a little time working on it, I have found that plastic style glues sort of work though. Super glue is still my best bet to get adhesion especially when gluing posts. I will just stay safe in the end and use epoxy for final assembly. The clean up was pretty standard, Purple Power for a few days, then about a week in dish soap followed by a toothbrush and drying time.
As this is a conversion kit; I had to clean off an old build to get the old paint off of my Zeta 2.0 build. Purple power in a very highly concentrated form for this did the job.
Here is the high quality packaging! Everything separated, and bubble wrapped.

Post cleaning pre primer:
As is normal some of the fits on the resin to resin pieces have not been perfect, so a little pla-plate and the gap is filled.
Below: To get a smooth finish and not have to sand away a ton of the material, I used a thin piece of plastic to get a very smooth finished look. Worked like a charm I must say.

Here you can see some of the clean up work in progress. The resin material is really easy to sand down though.
I added a few pieces of plate for details...the lower pieces ended up being removed due to them getting in the way of other pieces fit.

I decided also that the pods on the sides of the head needed to sit a little higher in the front. So I pinned them in a position that holds them up a little bit, and putty'd in the gap.


And here are the pieces in question...Once I started fitting them I found that my added plates were in the way. Just goes to show why I normally fully build a kit before I start to add stuff....
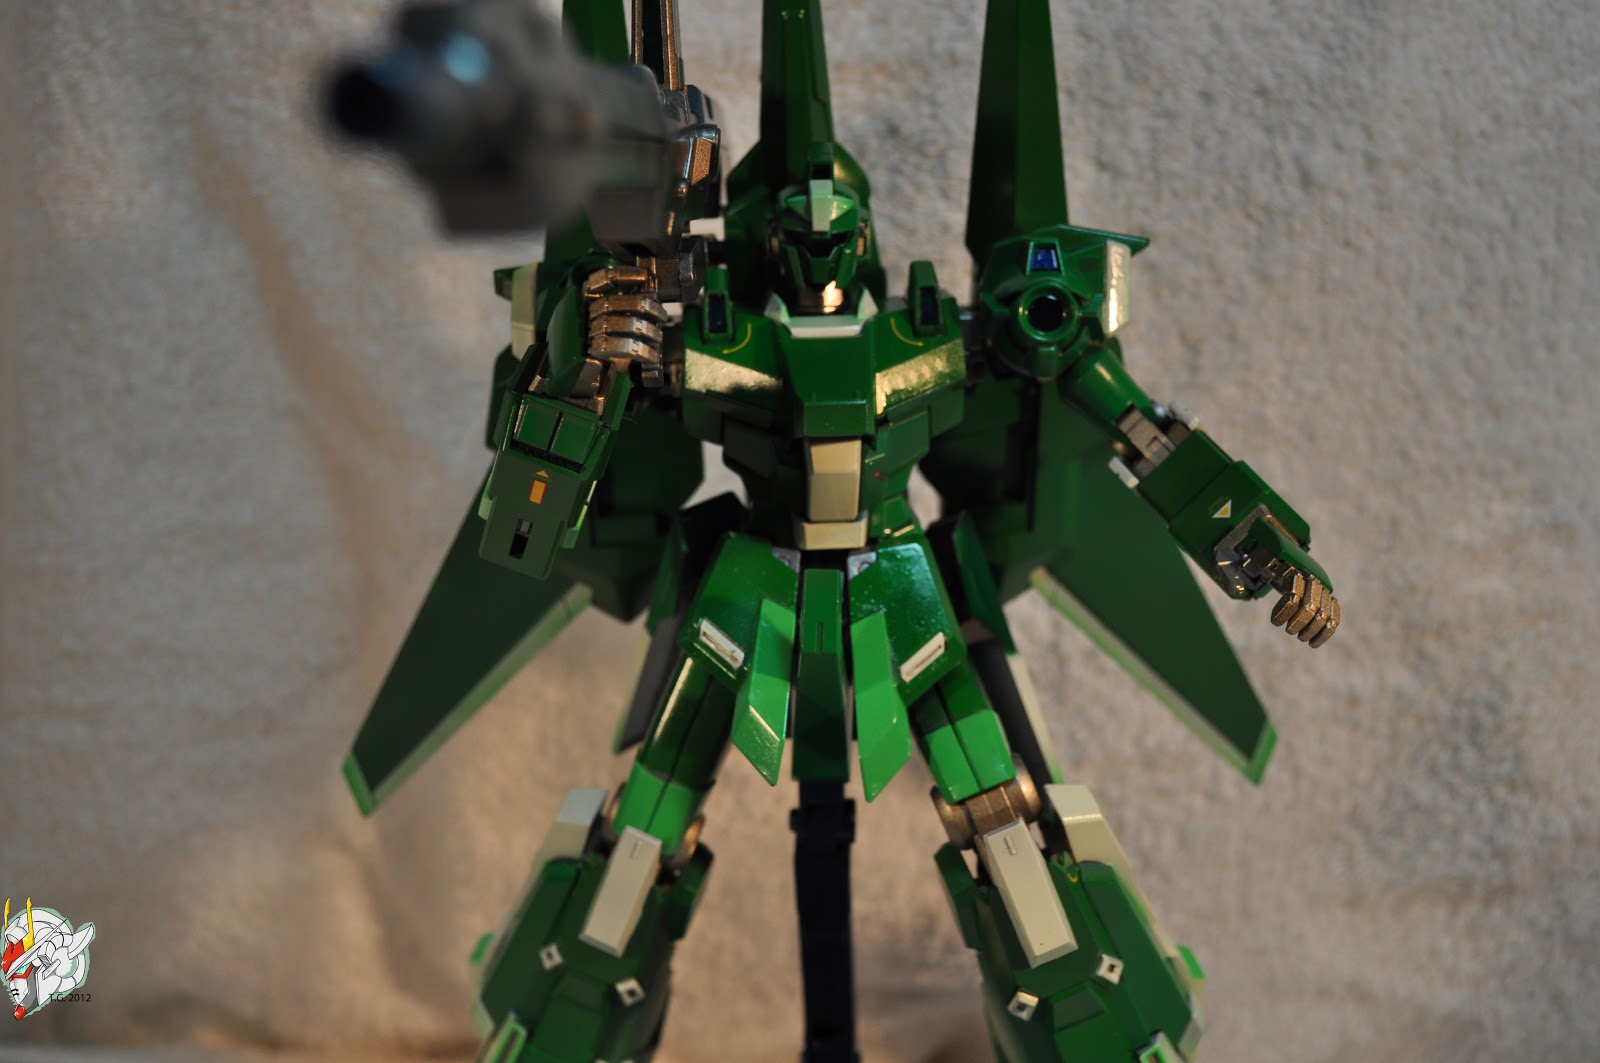
Here are some post partial clean up primed pictures.
Not done by any means, but much better.
Don't mind the hole in the back its where the pin for the backpack goes.
And the head.

Thats where I am at for now. 
As always thank you for stopping by. T.G.