As my time in San Diego continues I am working on two kits at once. Its fun and provides a nice break while I plan out the customization for each kit as I am really working on getting things done. I start with the G-Gundam. I added plating to the rear wings. Adding depth to the flat parts.
On the waist I have added a little bit of detail to them. I have to say the hardest thing for me to do is get the plate cut exactly the same every time. I am really working on this though. The errors are minimal compared to other kits I have done.
Same goes for the center piece of the chest. As I make final decisions on the paint scheme I am adding details to make that really pop.
That is where I am at on the G-Gundam. You will see why I have only got this far. Its all due to some serious set backs while trying to customize the psycho frame kshatriya. The first attempt was this one. My thoughts were to attempt and line up the upper piece with the lower one. I added extra plating for the higher sections of the upper piece.
I reinforced the plate in the back so that it would be more rigid.
But it was not to be. I spent about 2-3 hours working on this and getting it all lined up. When I put the top part on no matter what I did I could not get it to line and and look clean. So I walked away for a. I came up with this solution in my sleep...weird I know there are times when I dream of the solutions to Gundam build issues. (and yes I know the Kshatriya is not a Gundam) Mobile suit issues.
This is the fix that I came up with. I pushed the plate up from the bottom and Pro-welded it in place. The only challenge here was to get the posts back through with out cutting too much out.
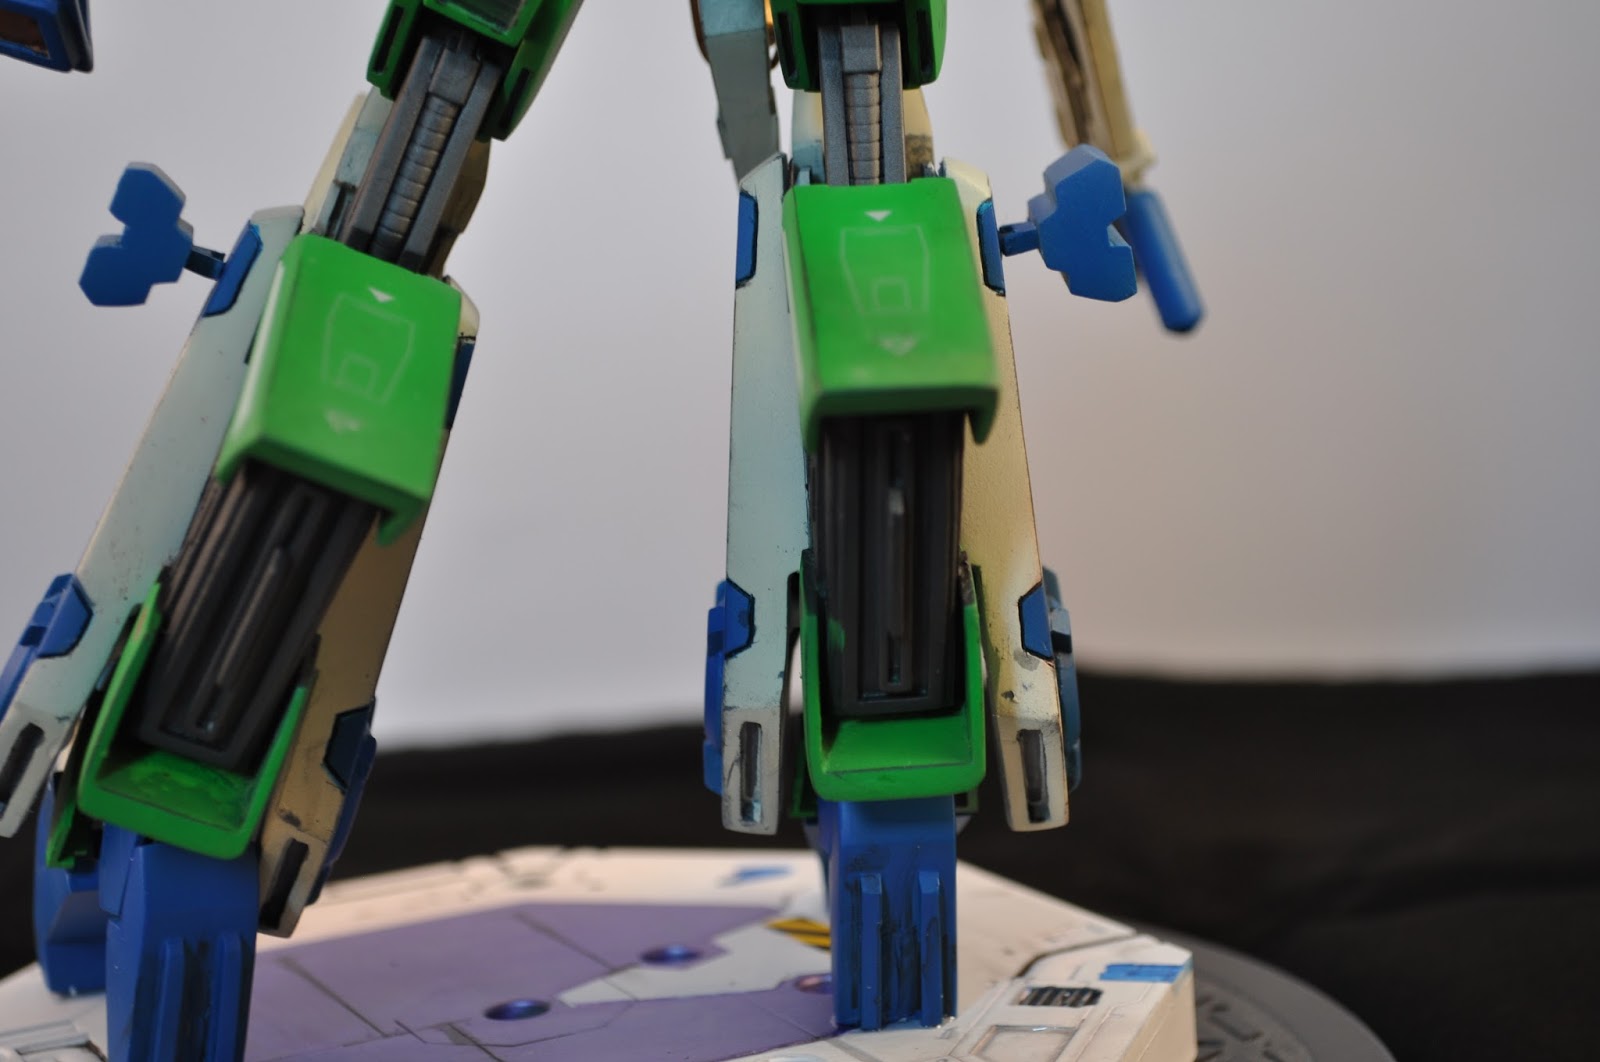
After all the glue was dry, I added a lot of plate and other detail up parts to get the details I wanted for the psycho frame. I am not looking for a super smooth build, but when do I normally build a smooth kit? Not too often.
And here is what the completed set up looks like. If I had the want to do LEDs it would look amazing, but I don't for this kit. Being an HG kit I am going to cut out a lot of sections to add the psycho frame look.
So far I have one completed a second one with the smooth plating done. hoping to get some more done soon, but I am pretty focused on the G-Gundam right now. Its got a flow going and I am not looking to stop it. I am hoping to be able to get the paint and have it done soon after I get home.
As always thank you for stopping by. T.G.