Sep 9, 2012

2012 Mecha Contest Winners!!!

The winners have finally been announced...along with my two choices for winners. So in this all too rare occasion, I share my blog with other builders, two guys I look to for inspiration and motivation along with all the winners.
2012 Mecha Contest Winners!!
My picks: 

Mafo127-Mg OO gundam with resin conversion for XN raiser- winner of RG Aile strike.


P3tb- Mg GP03 custom color- winner of the Mg wing gundam EW Ver.


Congratulations to all the winners!
Next year I will be in the competition! So be ready and bring your best work! I have been hard at work on the Booster Gundam and will post an update soon. Its coming together nicely if I do say so myself.

As always thank you for stopping by. T.G.

Sep 5, 2012

MSA-0011[BST] Gundam WIP2

This update is a long over due one I suppose, but you will have to forgive me as I have been side tracked by Space Marines and the like for a few months now. So I give you WIP 2 for my Resin Booster Gundam. A few pictures from the work I had already completed so you can remember what I had done. I have not completed any of the final detail work, still working out the pinning and all that. See below and enjoy.
Below: The intention of this photo is to show you the fill in work I had to do so far on the shoulder.


To get the head to sit right, I took some Pla-plate and stacked and cut then. I added in some putty to clean up the lines and gaps, I still need to sand it all smooth though.
Beyond checking out my use of sticky tack to keep pieces in place, you can also see where I had to add pal-plates to the chest to fill in gaps.
This is one of the upper booster units completely pinned, just need to do some scribe work to it.

Here is something I am still debating. The gap that is created, I am not sure it I like it or not. If I have to fill it. That will mean a lot of putty work and glue followed by an obscene amount of masking(not that this thing isn't already going to use 2-3 rolls.
You can better see where the gaps are in this super bright picture.
Well, I am off to super glue my fingers together some more.
As always thank you for stopping by. T.G.

Aug 25, 2012

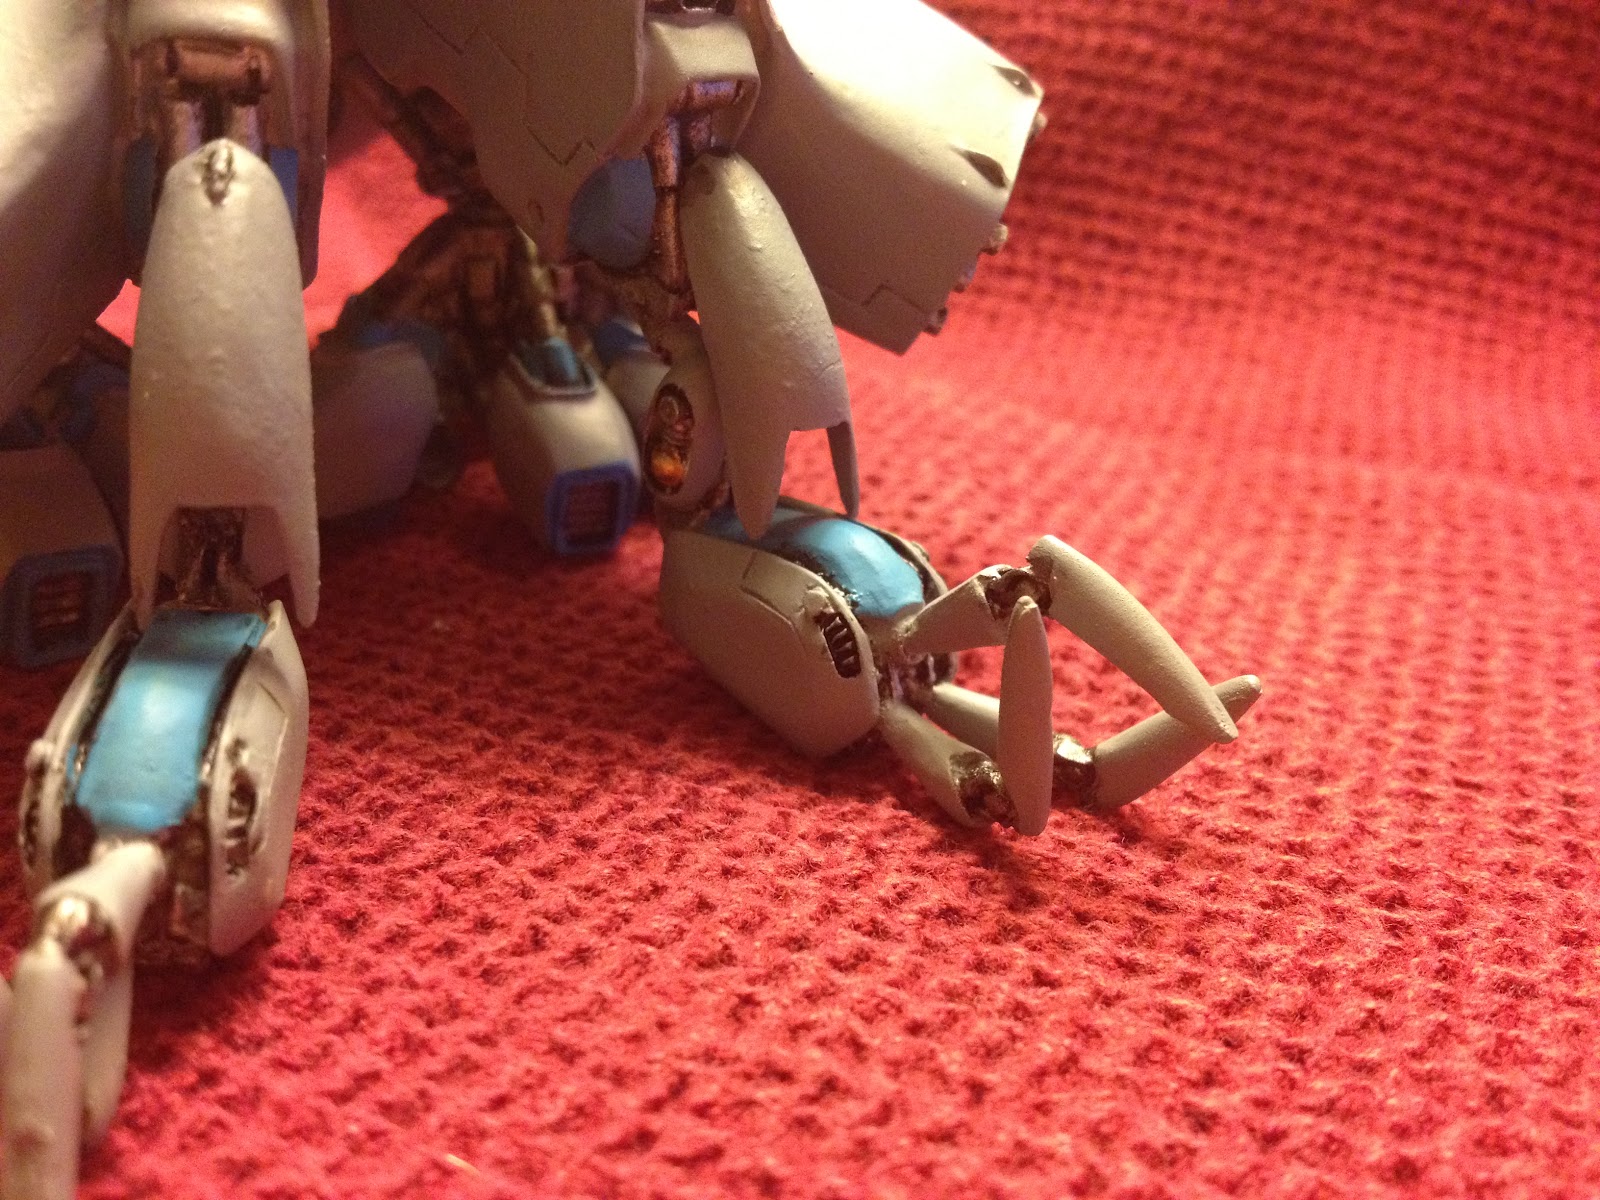
Kotobukiya, Mirage C03-Helios Victoria Ver.

My first ever Kotobukiya kit, and I must say for a 2009 kit I am let down by the MASSIVE amount of seam lines in this kit. They are every where! I have completed the snap build and I was about to walk out the the parking lot (I am stuck in a hotel at the moment) when I took another look at the kit and remembered I still have hours of seam line removal to do. Exciting I know.

 But enough complaining about work its nothing I haven't had to do before. For my first Kotobukiya kit I have to say its an easy build overall, a lot of little details on this one for sure. The metallic pieces are really nice and even after sanding they are still nicely colored. The lack of an internal frame is not missed due to details on the connecting pieces.

Simply put there are a lot of details, and they are nicely done once I get them sanded down to hide the seams. I do not intend to do any additional scribing, the shape of this kit is really not suitable for more. It would just add clutter. So Back to seamline removal. Enjoy the pictures.


Well enjoy what it looks like now. It wont look that way much longer. Hopefully I can successfully hand paint this guy!
As always thank you for stopping by. T.G.

Aug 19, 2012

The O, Neo Geo Version (Resin)

Finished!!!!! Hand painting is fun and all. Nothing like going back over the same color a few times to cover up mistakes...in the end it was worth it though. It feels great to complete a Gundam after so long.  I stayed with a simple color scheme as I said I would. I did add a dark grey in to break up all the light colors. This was a fun build for sure! My only gripe still remains the missing piece. Maybe someday I will try my hand at pouring resin so I can repair/replace things like that. Enough talking though; you are here to see the completed Ver. Tem.  Neo Geo Version of The O.  Sorry if the pictures aren't amazing quality, the only camera I have is on my iPhone.
This is the finished lower half, I wanted to get a picture of the frame work, and show how the wash gave it a really nice finished look.

The gold still really stands out like I wanted it too.
While I am taking photos of just half....I think the stripe on the beam rifle really gave it a finished look. I cant take credit for the idea...it was in the picture of the original build. But I still like it.
This is prior to panel washing.


The bright gold gives added contrast and detail to a very dark part of the model.


A couple more shots of the underneath. Have to make sure you get a chance to see those details that normally no one sees.


I know this photo is really bright! But if you look at the very tiny face. I used a bright green on the eyes.


Bird's eye view.
I hope you like this build. I had a good time building it for sure. I am going to have to make a decision between a custom resin version of a Dom, or the God Gundam. I don't have all my tools for working plastic right now, so I think I may do another 1/144 resin kit. I have all the tools needed to working on those.

As always thank you for stopping by. T.G.