Showing posts with label Shin Musha. Show all posts

Jul 24, 2010

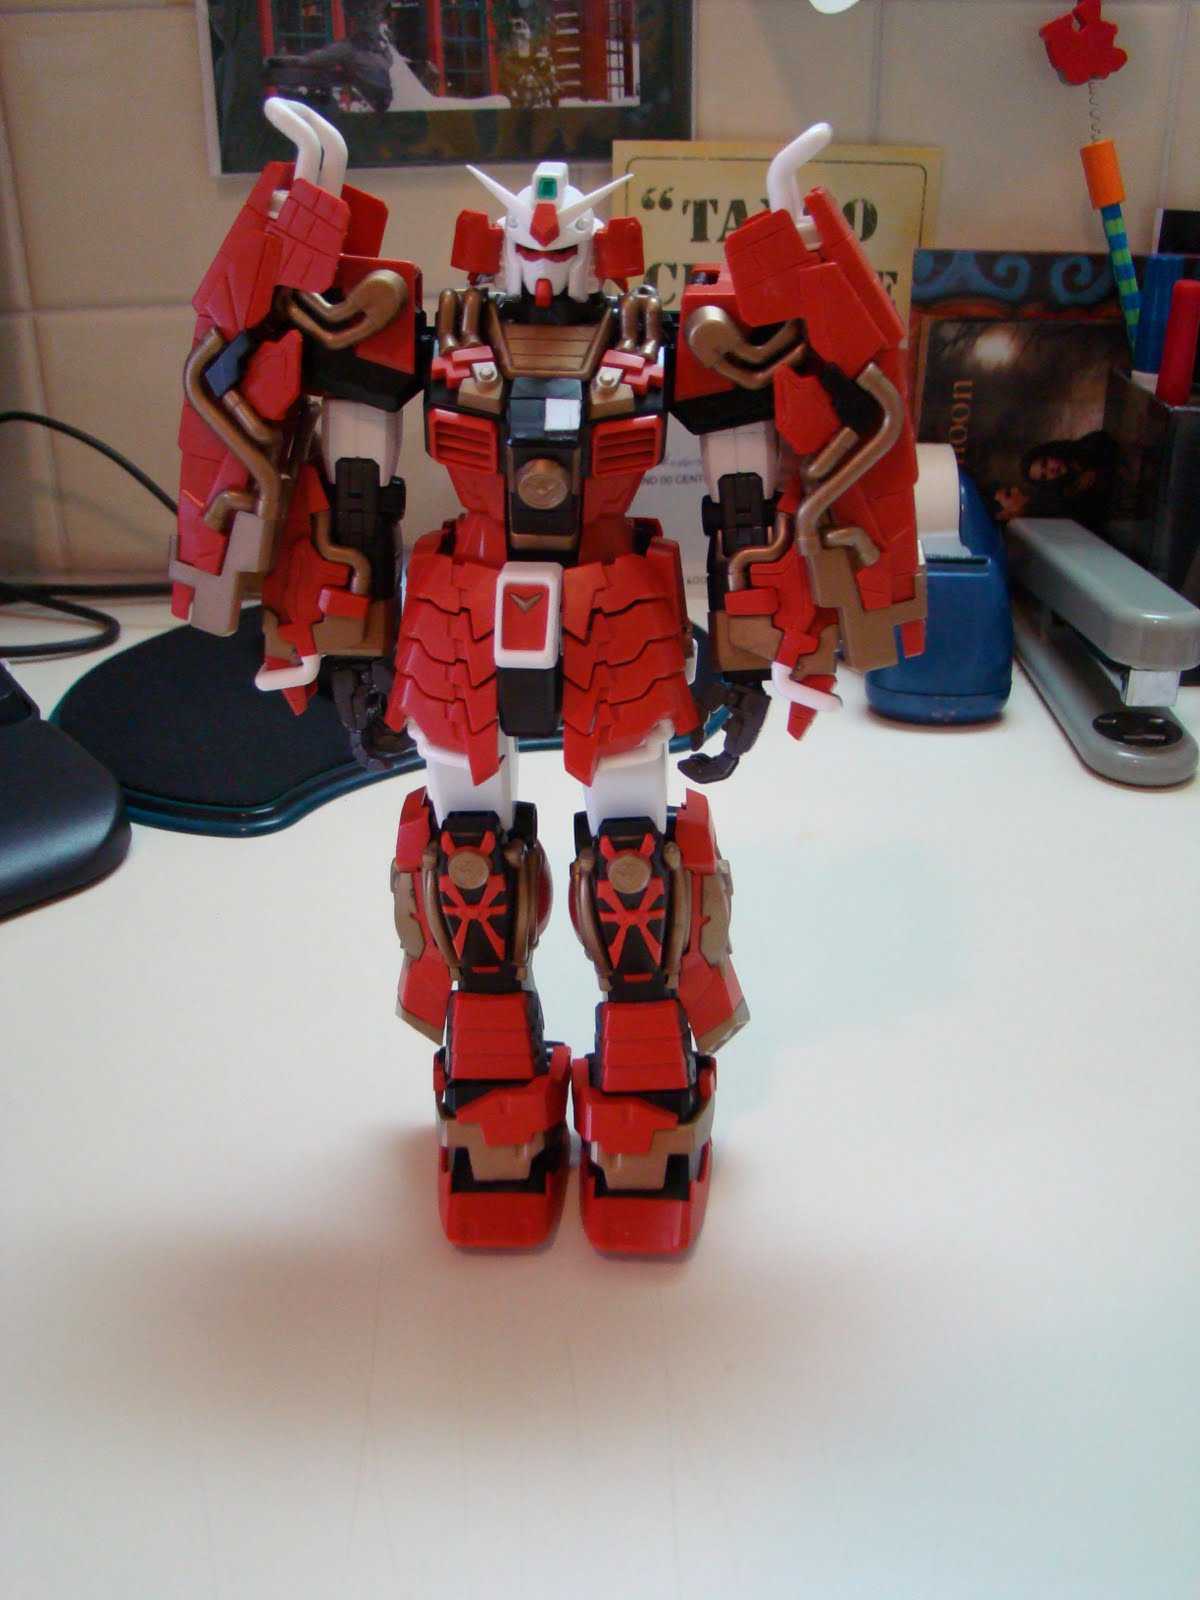
Shin Musha Finished!!!

It is complete, and I must say I am pleased with the overall results. When I start to build these guys I see the ideas in my head and try to remember the ones I like the most. I am not a big preplanning guy. I wanted to change my original color choices a few times, like the off-white vs white, but in the end I think the off-white really helps this guy look more weathered.


I am still working on the lighting for the photographs. These look better, I think my best pictures come out when I am using natural light, but it is about 1am here and moonlight is a little lacking.


All in all a fun kit to build. I am not really one to do reviews of the ups and downs of builds. I leave that to others. This guy has a lot of detailing options that you can run with. I chose my path, and I like where it lead me. Here's hoping you agree.
The PG 00 Raiser has been started, it is going to be a very slow build and in all honesty I am not sure I am ready to undertake it, mostly due to the overwhelming size of the kit; it will require a rethink in the way I currently assemble and disassemble these guys. The challenge is part of the fun though.
Keep on building until next time.


Jul 12, 2010

WIP 5 Ready for primer

Here he is all ready for a wash and break down so I can start the paint process.
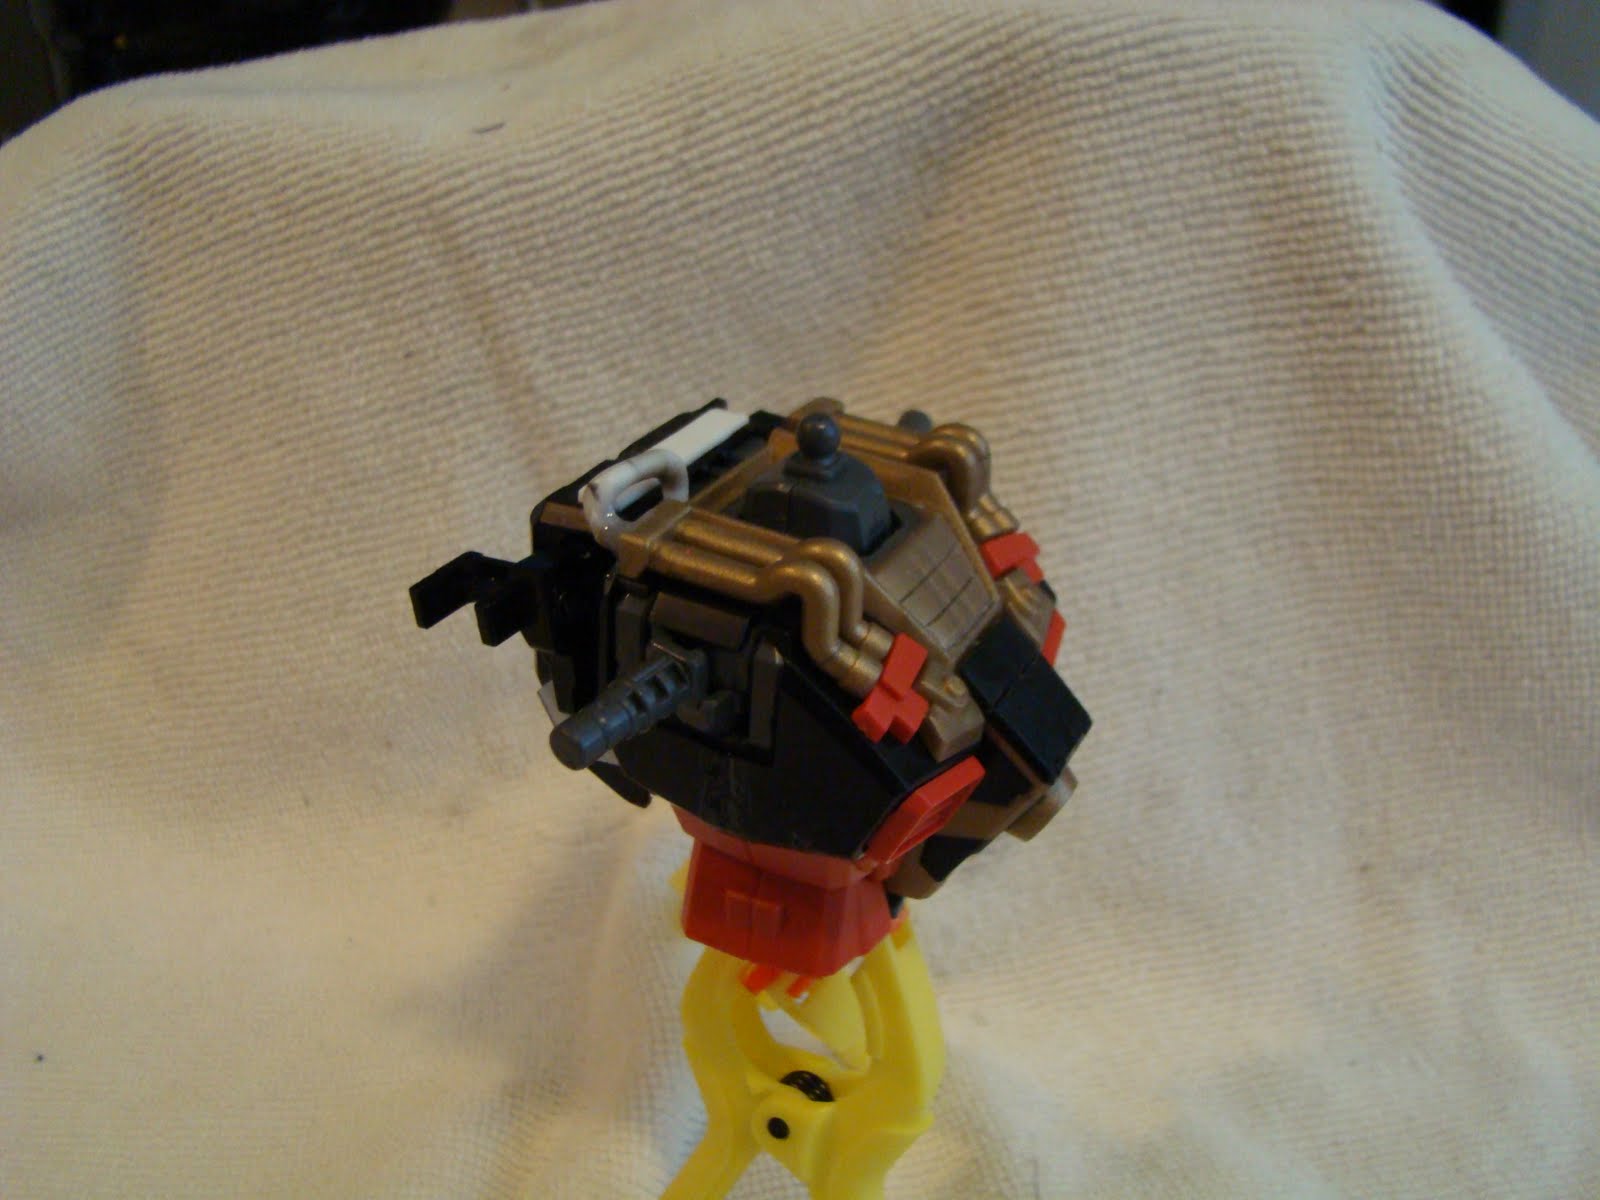
Its hard to see some of the scribe work I did the entire back waist panel, but just did it to reinforce the lines that were already there so it looked more like the front. Added some pla-tube to the back pack and then modified the head piece to allow for more movement.


That's all for now. I need to wash it all up and prime it so I can see where I am going to need to sand further. I know there will be spots there always are.

Jul 11, 2010

Shin Musha WIP 4

So I do try to not post anything personal on here, but I just have to say this weeks work has been motivated by my Uncle that past Saturday evening. He worked installing Internet cable around the city so people could have high speed Internet. Because of this I decided to learn how to bend Pla-tube on the Shin Musha.


One side is done and came out nicely I used a trick I found on the Internet of course to give it a molded look into the body. If you are interested its simply. I use Tamiya liquid cement normally and once I got down to about a half jar I took a bunch of small pieces of sprue and put them in the glue bottle and let it sit for a day or two. It became this nice looking purple goo. (I used pieces from the Kampher.)
As you can see it is much thicker than the normal glue so it does not dry the same as normal. In this case it makes the tube look like it is molded into the piece. Once primed and painted it will look all nice. I added some other pla-plate to the backpack, also scribed, and chiseled out some of the top to break up all the flat space. I still need to add some place to the body itself not to much though. I like it and the basic design of the legs the way they are.


Kitchen scene snuck in again. lol. My next challenge will be what to do about the scabbard. From a little research it does not look like a traditional one had very much detailing. I don't necessarily like that though, but I can't make it so oddly shaped that it can't be held onto. Ah the joys of Gundam. Until next time thanks for reading.


Jul 5, 2010

Shin Musha WIP 3 the scribe off!

Scribing so much fun after all. I truly do enjoy the time consuming task when it ends up truly improving the final look. This is just the first piece I've done on this guy its not been cleaned up yet either.

Below is my first attempt to do a multi-angle panel. I used my hobby knife to mark out the initial lines, followed by a scribing tool very lightly progressing to more and more pressure until it was deep enough. I need to find a good way to clean up all the extra debris around it, but all in all I am happy with the results.
Like my stand. I know its awesome and a little unconventional, but when the kitchen has the best light you got to use what you have. One day I will end up getting all the fancy photography equipment, but until then crock pot lids will be the order of the day.

Jul 4, 2010

Shin Musha WIP 2 Cont.

Just a small update, I completed the initial build. Good looking Gundam if I do say so. Now to start the detailing part.

As you can see I started laying out my rough design on the armor. I am going to make it match to the plating on the back of his head. Still debating if I want the panels to be large or a little smaller. I will end up drawing them smaller on the other side so I can compare.

Only other complication is how to mount the sheath ( I don't remember the Japanese name for it). I will figure something out though.

Well I am off to work some more, slow going for the next few days. Planning is fun, but sometimes very tedious.


Jul 3, 2010

Shin Musha WIP2

What a great day yesterday, even got the main body finished on this guy. I like all the details that are built into him. Looking over the body there is not too much major detailing that will need to be done. some deepening of panel lines and a few added.

The back is plain, but there is a back pack that will cover all that up. I am not sure if I want to attempt to make all the red look like it is samurai style panel armor or just leave it with a few added lines. I am still making up my mind about the final look, and will wait for the final build to make any decisions.
Articulation isn't bad at all, my main complaint would be the ankles.
And then there is this question, why make each layer separate in the front;
and not the back. I will have to figure something out to remedy this issue for sure.
Well its the fourth I might sneak in some armor building time today who knows anything is possible.

Jul 2, 2010

A small update and news.

Well School started so building time is diminished. That however has not killed my spirit to add to my world of Gundam. Got some work done on the Shin Musha legs I find it interesting that the frame is rather complicated, but after assembly has extremely limited movement in the ankle.
Oh well a lot of movement in the knee. This one is going to require a lot of dis assembly to paint though. I do not like the gold color it looks very cheap. That is what they make paint for though.


On another note. I decided that when I build a PG I will attempt to locate and build all the models of that one for comparison, and for the cool look the group will have once all assembled. I located a SD 00 Raiser, HG 0 Raiser, HG 00 Raiser, and an SD Strike so that will start the process.
I am normally not a fan of anything less then MG, for the size and detail they have, but change can be fun right.

I know not much for this one. Life is getting in the way. Hope every one that celebrates it has an awesome 4ht of July!!!