Showing posts with label deep striker. Show all posts

Nov 2, 2012

Intro: MSA-001[BST] Gundam Ver Tem.

The beast if finished!!! This thing was a huge challenge for me with all the parts not fitting just right and other challenges, but I overcame them and I will say I am extremely please with how this Resin 1/100 MSA-001 [BST] Gundam came out. All in all it took me about 3 months to complete. With masking for the individual colors taking a week or so in there. Masking is truly a time consuming process. The end result is this:

MSA-001 [BST] Gundam Ver Tem.


You would not believe how much time and effort I spent trying to get this perfectly straight....


This was my first time overspraying I did it on the side of the boosters with a soft mask, but on the boosters I did an orange base then used a clear red to give the ends a little more color.


Thats what I got for you today. I am currently finishing a Rezel Command type. its a straight build and paint though. And as of today I begin working on Thehelmosengine's Dhreksturm!

As always thank you for stopping by T.G.

Oct 20, 2012

MSA-0011[BST] Gundam WIP 7

A long time between updates, but a cross country drive and finishing unpacking, along with figuring a new job out will do that I suppose. I have been working on my kits, though. I am actually 95% complete at this point. I need to do some touch up and detail painting, panel lining, and decals then I will be complete. I have to say that I am really happy with how the boosters came out! I will also let you know that no matter how many times I do it I hate masking. It almost makes me want to do a super simple color scheme, but then I sit back and look at it, and I have to be me. I also added my new logo. My Cousin completed it, and the new website banner for me. And it is greatly appreciated. All that said enjoy the sneak peak at the almost completed partially glued together kit. With the weather cooling off quickly it takes a lot longer for things to cure and dry completely.

No need for a lot of words, I tried to chose a simple color scheme in regards too how many different colors I used, but still adding in different shades of the colors to add depth.

The grill has yet to be buffed out. The paint I used is rather interesting, if you AB it you can buff it to a shine, if you brush it on, then you are not able to buff it at all. Its just dull.


And here you can see where after buffing I still had some of the residue on my thumb and after smearing it onto the white; I tried to clean it off. Needless to say that didn't go well at all. Some repaint will be required.
Thats all you get for now. I am hoping to find more time to work on this tomorrow. 
Thank you for stopping by T. G. 

Sep 20, 2012

MSA-001[BST] Gundam WIP 6

As I set off to drive back home; I took a few pictures, as I am not able to contain how cool this thing looks with all the booster packs attached! I know the actual boosters arent on there yet, but they dont stay on with out a ton of sticky tack, and I am far too lazy for that at this moment. (: The gun and everything set nice and tight too. I may need to reinforce the base due to the overall weight of this kit, but thats an issue for when I am at home and have all my tools again. You can see on the left side (for you) right side of the Gundam the wing, the left one wouldn't stay on and I already had to glue and sand one down after it snapped in shipping.

The white circles in the upper boosters are .040" plastic I didn't like how low in the extra fuel pods sat so I used that to raise them up some.
The wires and other little details added to the underside add a nice little something.

As you can see by the upper right booster, globs of putty I still have clean up to do. The putty I am using is harder than the Tamiya kind, but it takes considerably longer to dry. Normally needs 12+ hours for a good hard cure.

And with this happy guy staring you down, I bid you a wonderful weekend. Mine will be spent in a car.
As always, thank you for stopping by T.G.

Sep 19, 2012

MSA-0011[BST] Gundam WIP 5

This will be one of the last updates for a little while, as I drive back across the country again...so boring.

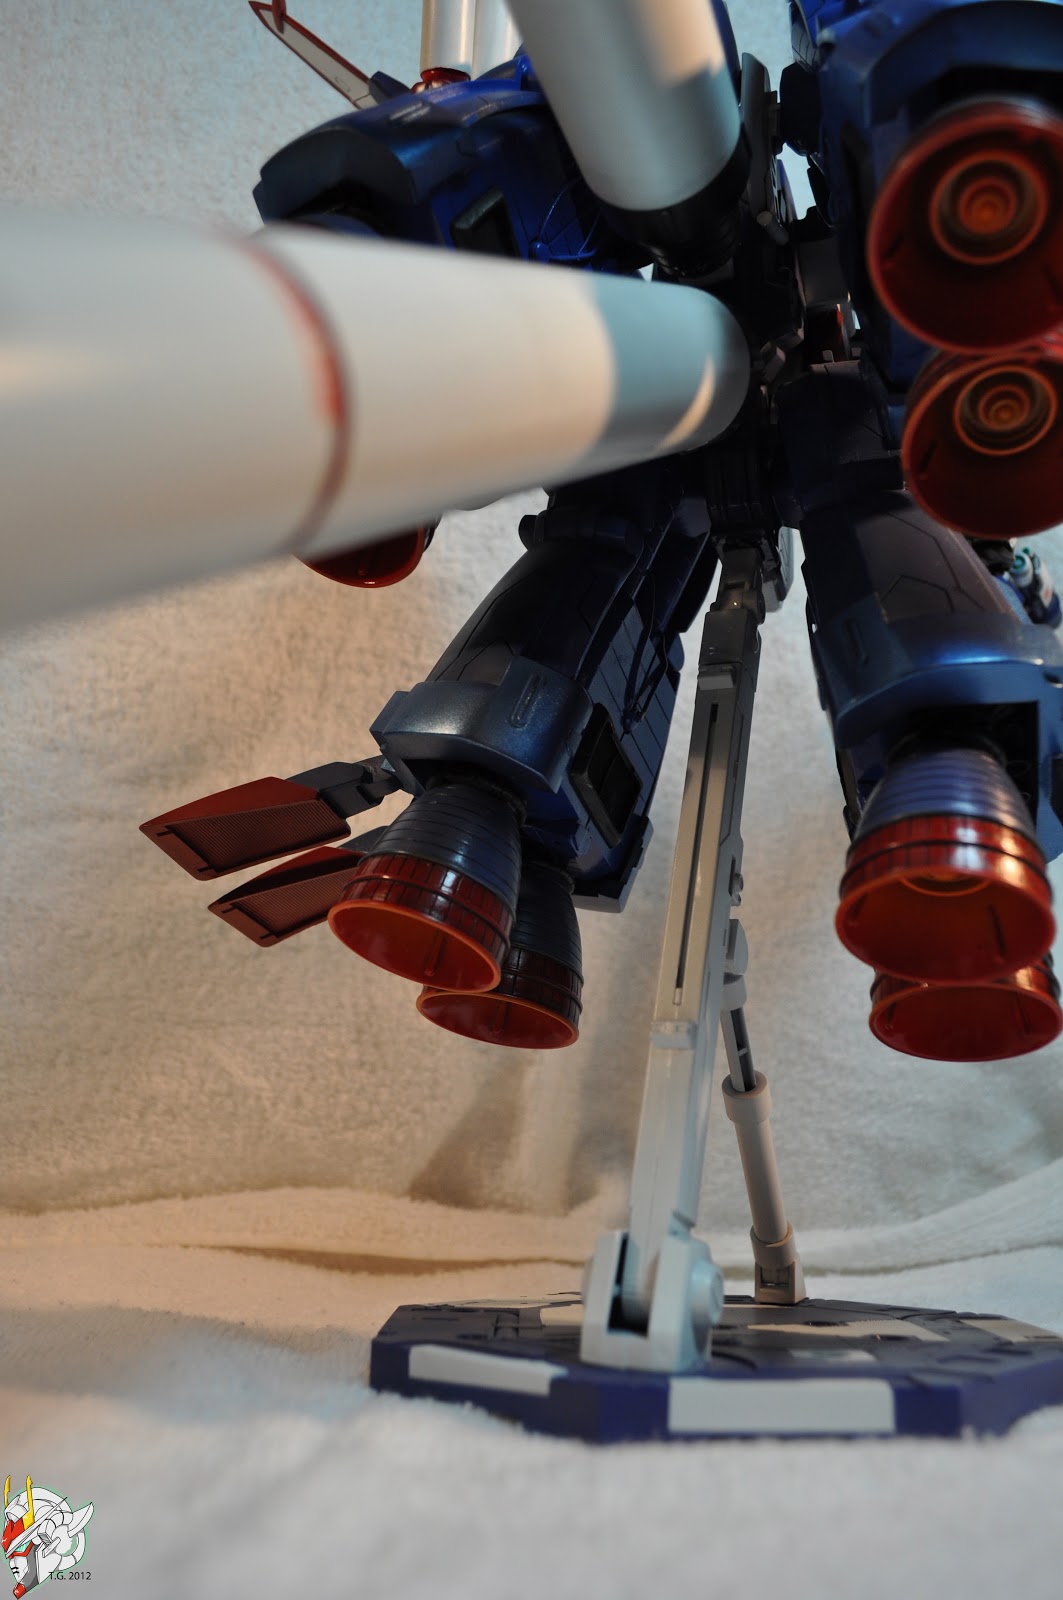
Any ways; I have completed detailing the lower two boosters, and one of the upper boosters, I did them a little differently to add to the detail and eye appeal of this beast. I even managed to hang the fuel tanks and boosters for a picture...the arm will obviously not hang that low, but I didn't want to touch this thing as its not very well balanced and things aren't glued in place.


You can see how the gun is going to sit on an angle in towards the body. At this point I have done all I can to get it to sit upright. The way the armor and the small clearance between the body and the arm make it a huge challenge for sure. I will take a closer picture later when I am done adding all the reinforcing rods, but the gun makes this arm very unstable and heavy. I had to use a really long pin in the hand, and add a pin to the back of the forearm to secure the weight and position of the gun. 
Here's a glimpse at what it will look like with both boosters attached. 
and the final alignment of the upper boosters. 
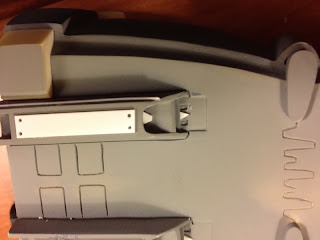
This is a picture of the now dry primer....I am not happy at all with this brand, so I searched out and found a case of the Krylon primer, but I have to sand all of this before I can use it. 
Now for some details on the upper boosters.


I didn't go insane on the details, at least in my opinion. But I did make it so those fuel stacks or what ever they are have some cabling to add something other than blank weakly detailed areas. 

Until the next update: thank you for stopping by T.G.